Example file
To better understand how to use our plugin, please download the example file: Download
Basic Grasshopper tutorial
The Grasshopper is installed automatically during the installation of Rhino.
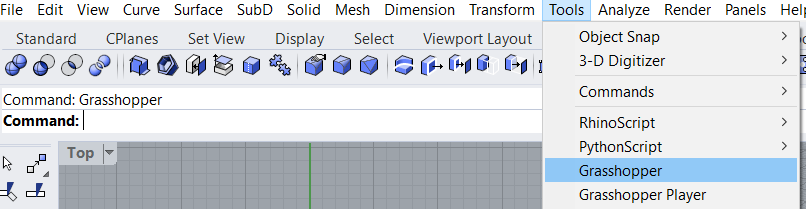
To run Grasshopper, you have to start Rhino and in its menu bar click on Tools -> Grasshopper:
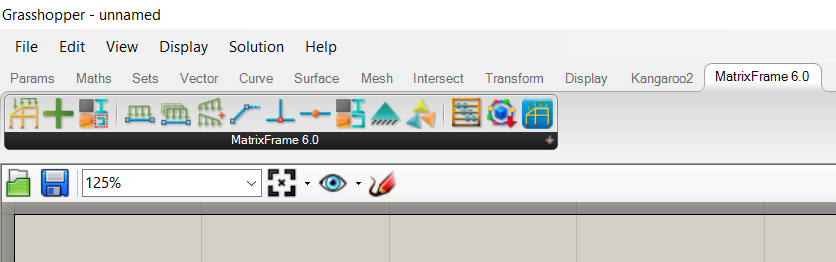
When the Grasshopper is launched, you should see the tab of MatrixFrame Grasshopper plugin:
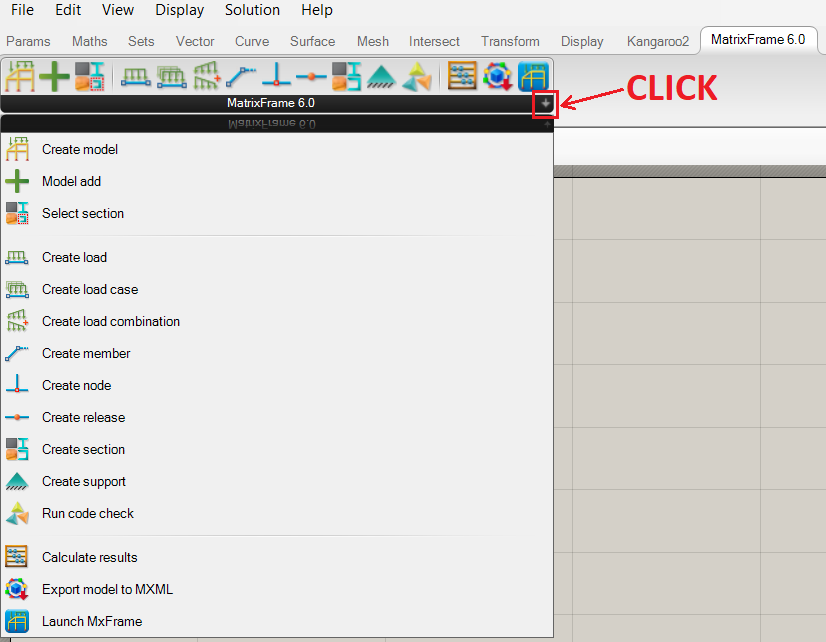
You can expand the list of MatrixFrame plugin components to see their full names:
MatrixFrame model creation
The MatrixFrame Grasshopper plugin has a lot of components that enable the creation, modification, usage and calculations of a MatrixFrame model. All parts of the model (nodes, members, supports, …) are created separately and are continuously being added to the model.
To create the model click on the Create model button and then on an empty place in the document. The Model component is added:
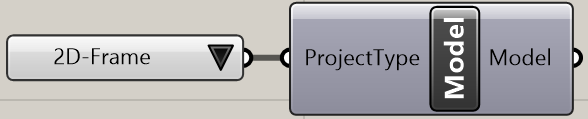
You can choose the project type which you need on the left side.
If you wish to see a more compact view of the components, you can select an option to show icons instead of the name:

Creating the MatrixFrame Node
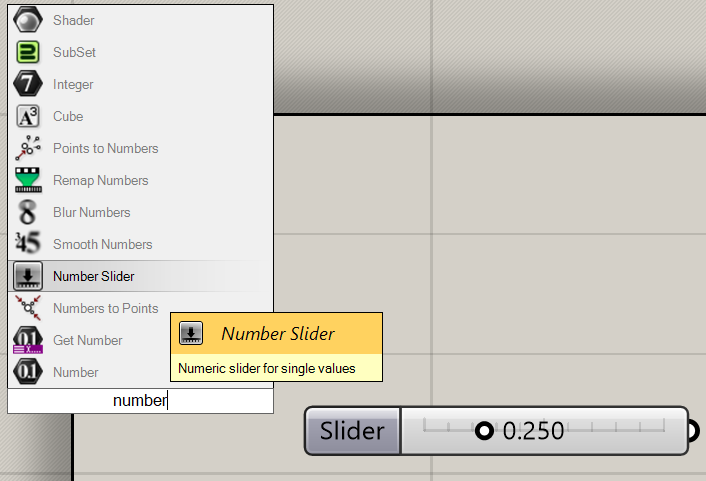
Add a Number Slider component to define numbers. It can be done by double-clicking on an empty place and typing "number slider":
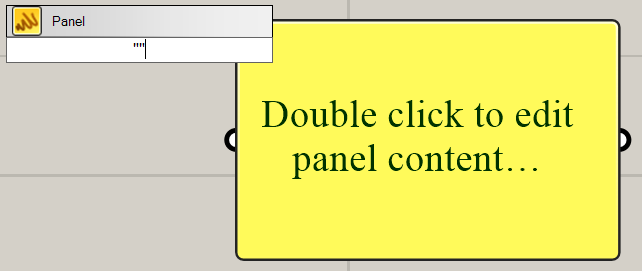
Add a Panel component to define text or numbers in a more compact way. Double click on an empty place and type two quotes:
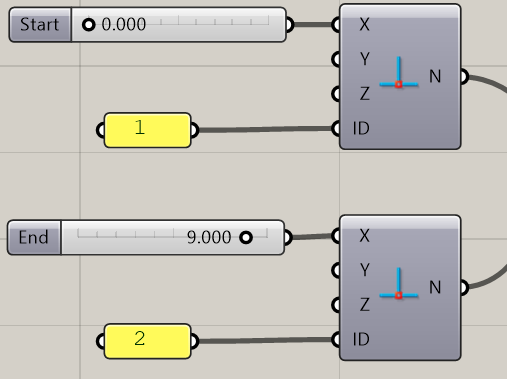
Add a Node component. Connect parameters that define X, Y and/or Z coordinates of the node. By default, the value of the coordinate is 0. It is also possible to provide an explicit ID of the node. An example of two nodes:
Creating sections and members
Add two more components: Section and Member. Connect them accordingly:
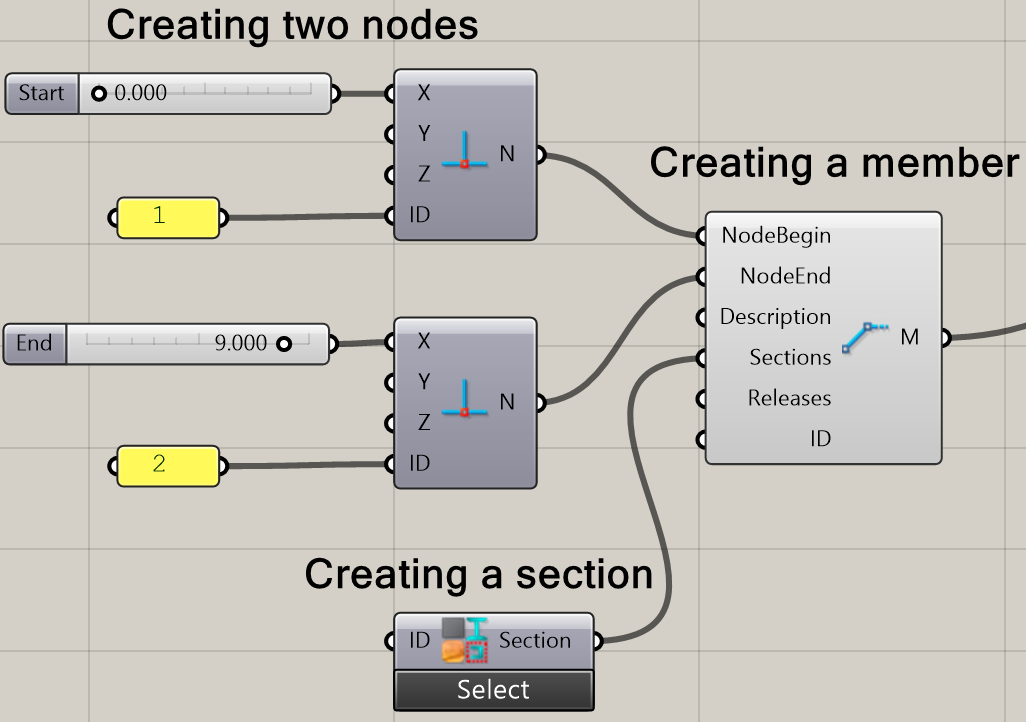
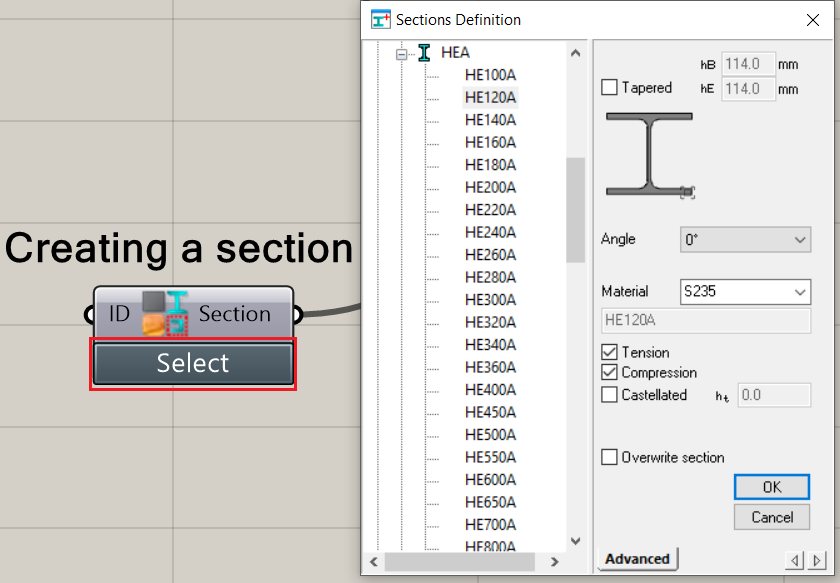
Pressing on the Select button lets you select the section by using the same dialog that you use in MatrixFrame:
The member has been created successfully but it must be added to the model by using Model Add:
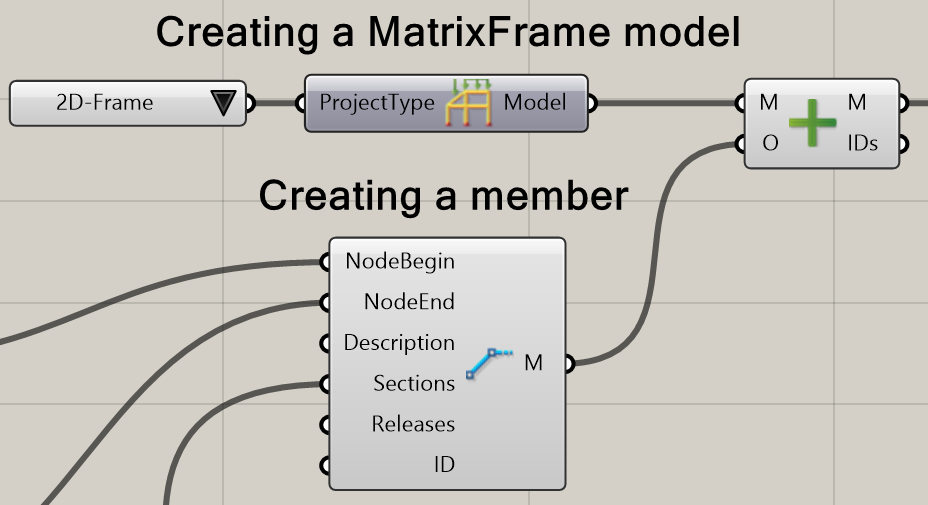
All objects (nodes, sections, releases) that have been added and connected to the Member component are also added to the model automatically.
Creating supports
Add two more components: Merge and Support. Use the Merge component to merge two nodes’ data streams into one and connect it to the Support component. By doing so two supports will be created (on each node):
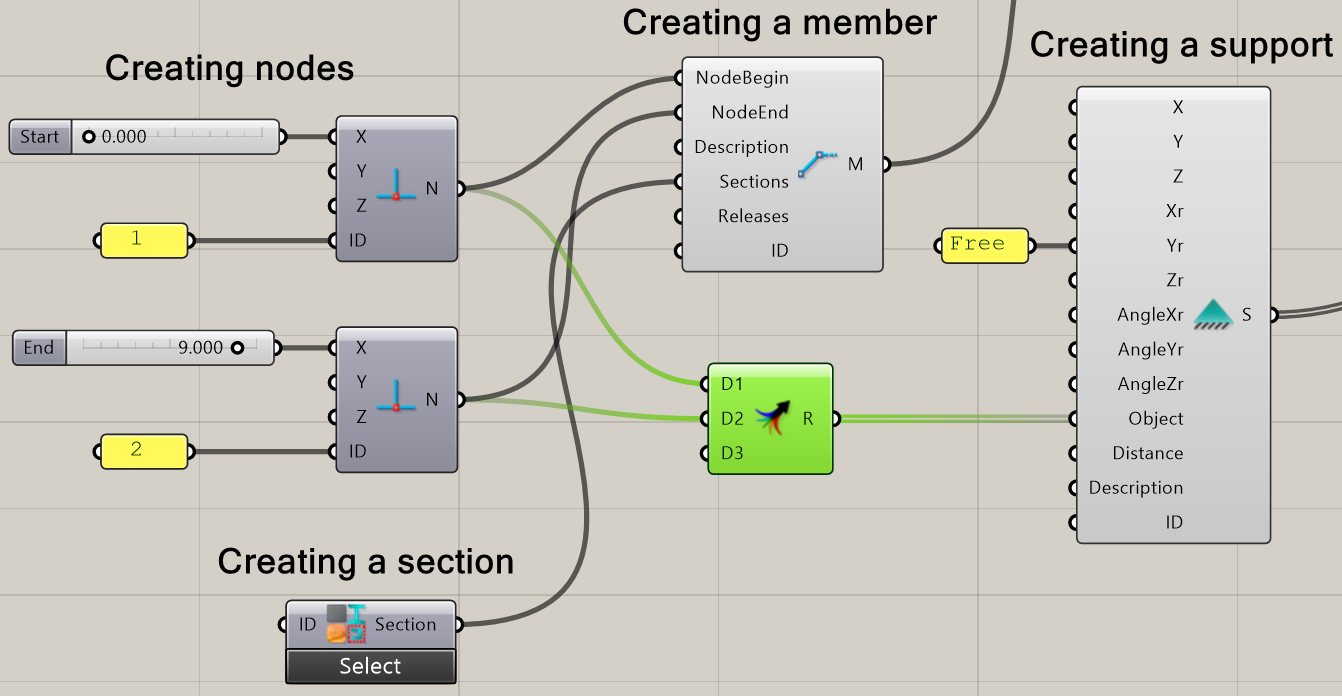
Create another model components and add them to the model.
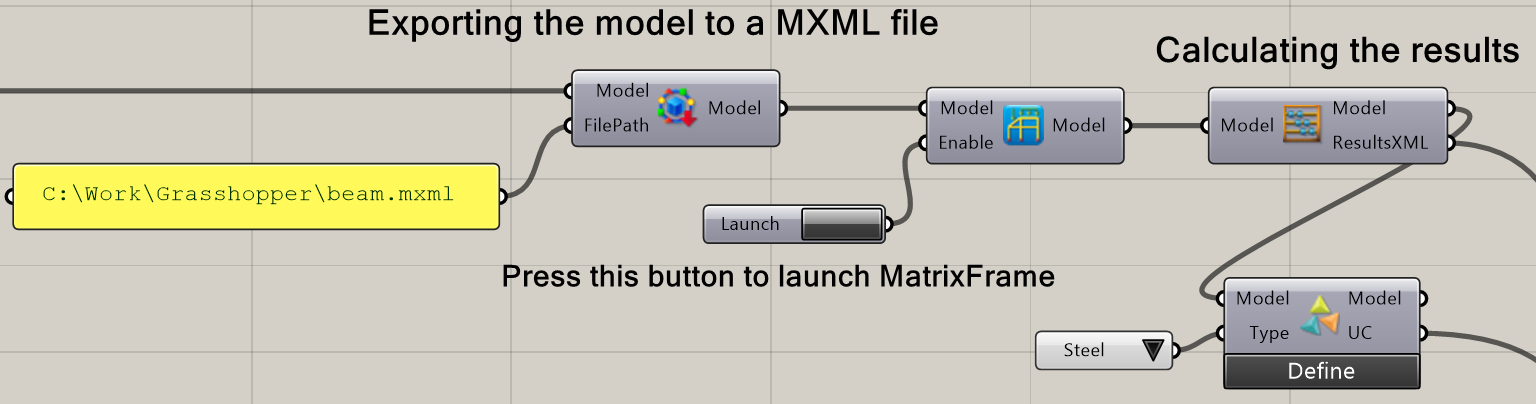
MatrixFrame Grasshopper plugin contains the components that export the model to an MXML file, launch the model in MatrixFrame, calculate the results and perform steel/timber code checks: